Keeplys v1.2.0 has launched. This version comes with a direct integration with paperless-ngx. If you already have paperless-ngx setup as your home document management system, this doc was specifically written for you.
Paperless-NGX is a self-hosted document management system that transforms your physical documents into a searchable online archive. When combined with Keeplys, you can:
-
Scan documents on your phone and automatically upload them to Paperless
-
Organize with tags that sync between both systems
-
Search your documents using Paperless’s powerful OCR and full-text search
-
Access your documents from any device
Prerequisites
Before you begin, make sure you have:
| Requirement | Description |
|---|---|
| Paperless-NGX instance | A running Paperless-NGX server (self-hosted or cloud) |
| Network access | Your phone must be able to reach your Paperless server |
| Admin account | Access to create API tokens in Paperless |
| Keeplys v1.2.0+ | The integrations feature requires version 1.2.0 or later |
Note: If your Paperless server is only accessible on your local network, you’ll need to be connected to that network (or use a VPN) for uploads to work.
Setup Guide
Step 1: Get Your API Token
-
Open your Paperless-NGX web interface
-
Click your username in the top-right corner
-
Select Settings from the dropdown menu
-
Navigate to the API Tokens section
-
Click Create Token
-
Give it a name (e.g., “Keeplys Mobile App”)
-
Copy the generated token — you’ll need this in the next step
Security Tip: API tokens grant full access to your Paperless account. Keep your token secure and never share it.
Step 2: Connect Keeplys
-
Open Keeplys on your device
-
Go to Settings (gear icon)
-
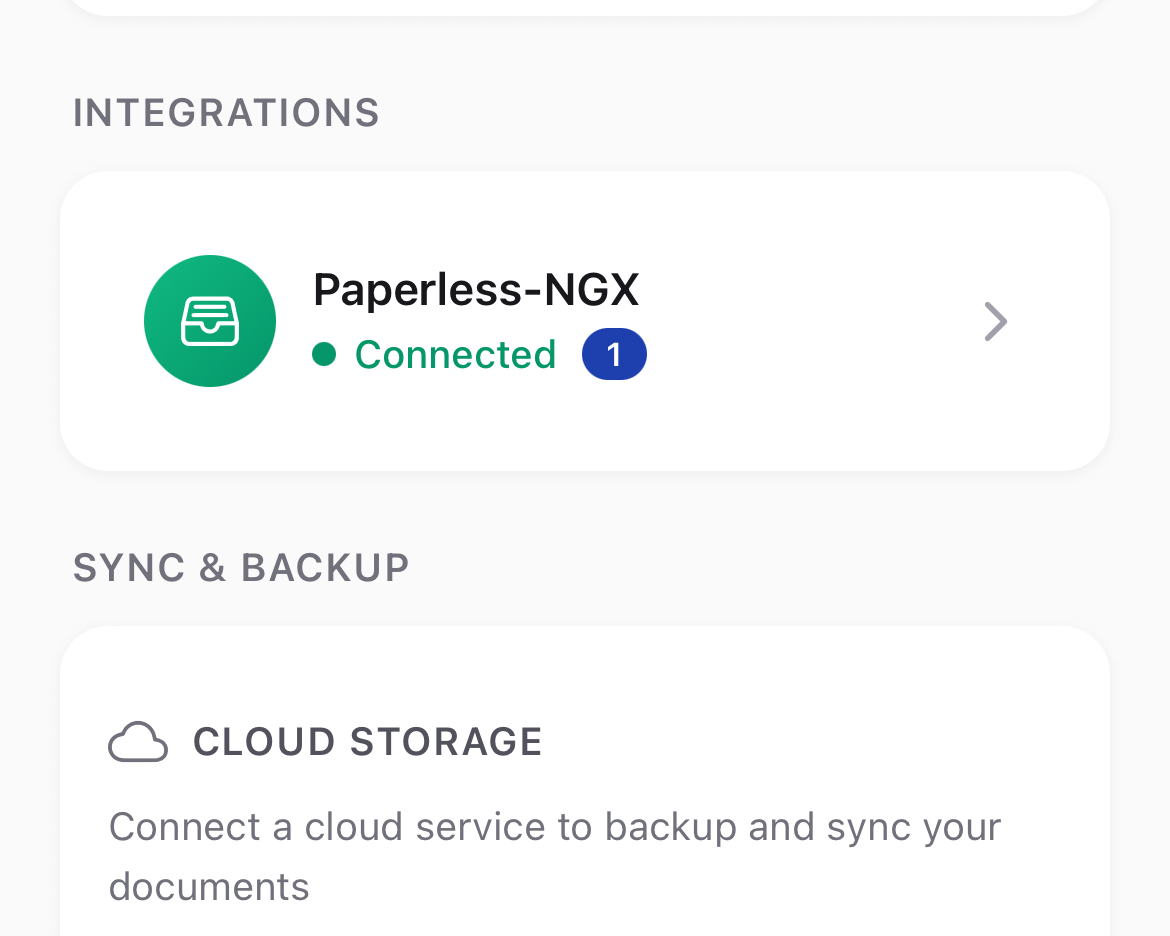
Tap Integrations
-
Tap Add Integration
-
Select Paperless-NGX from the list
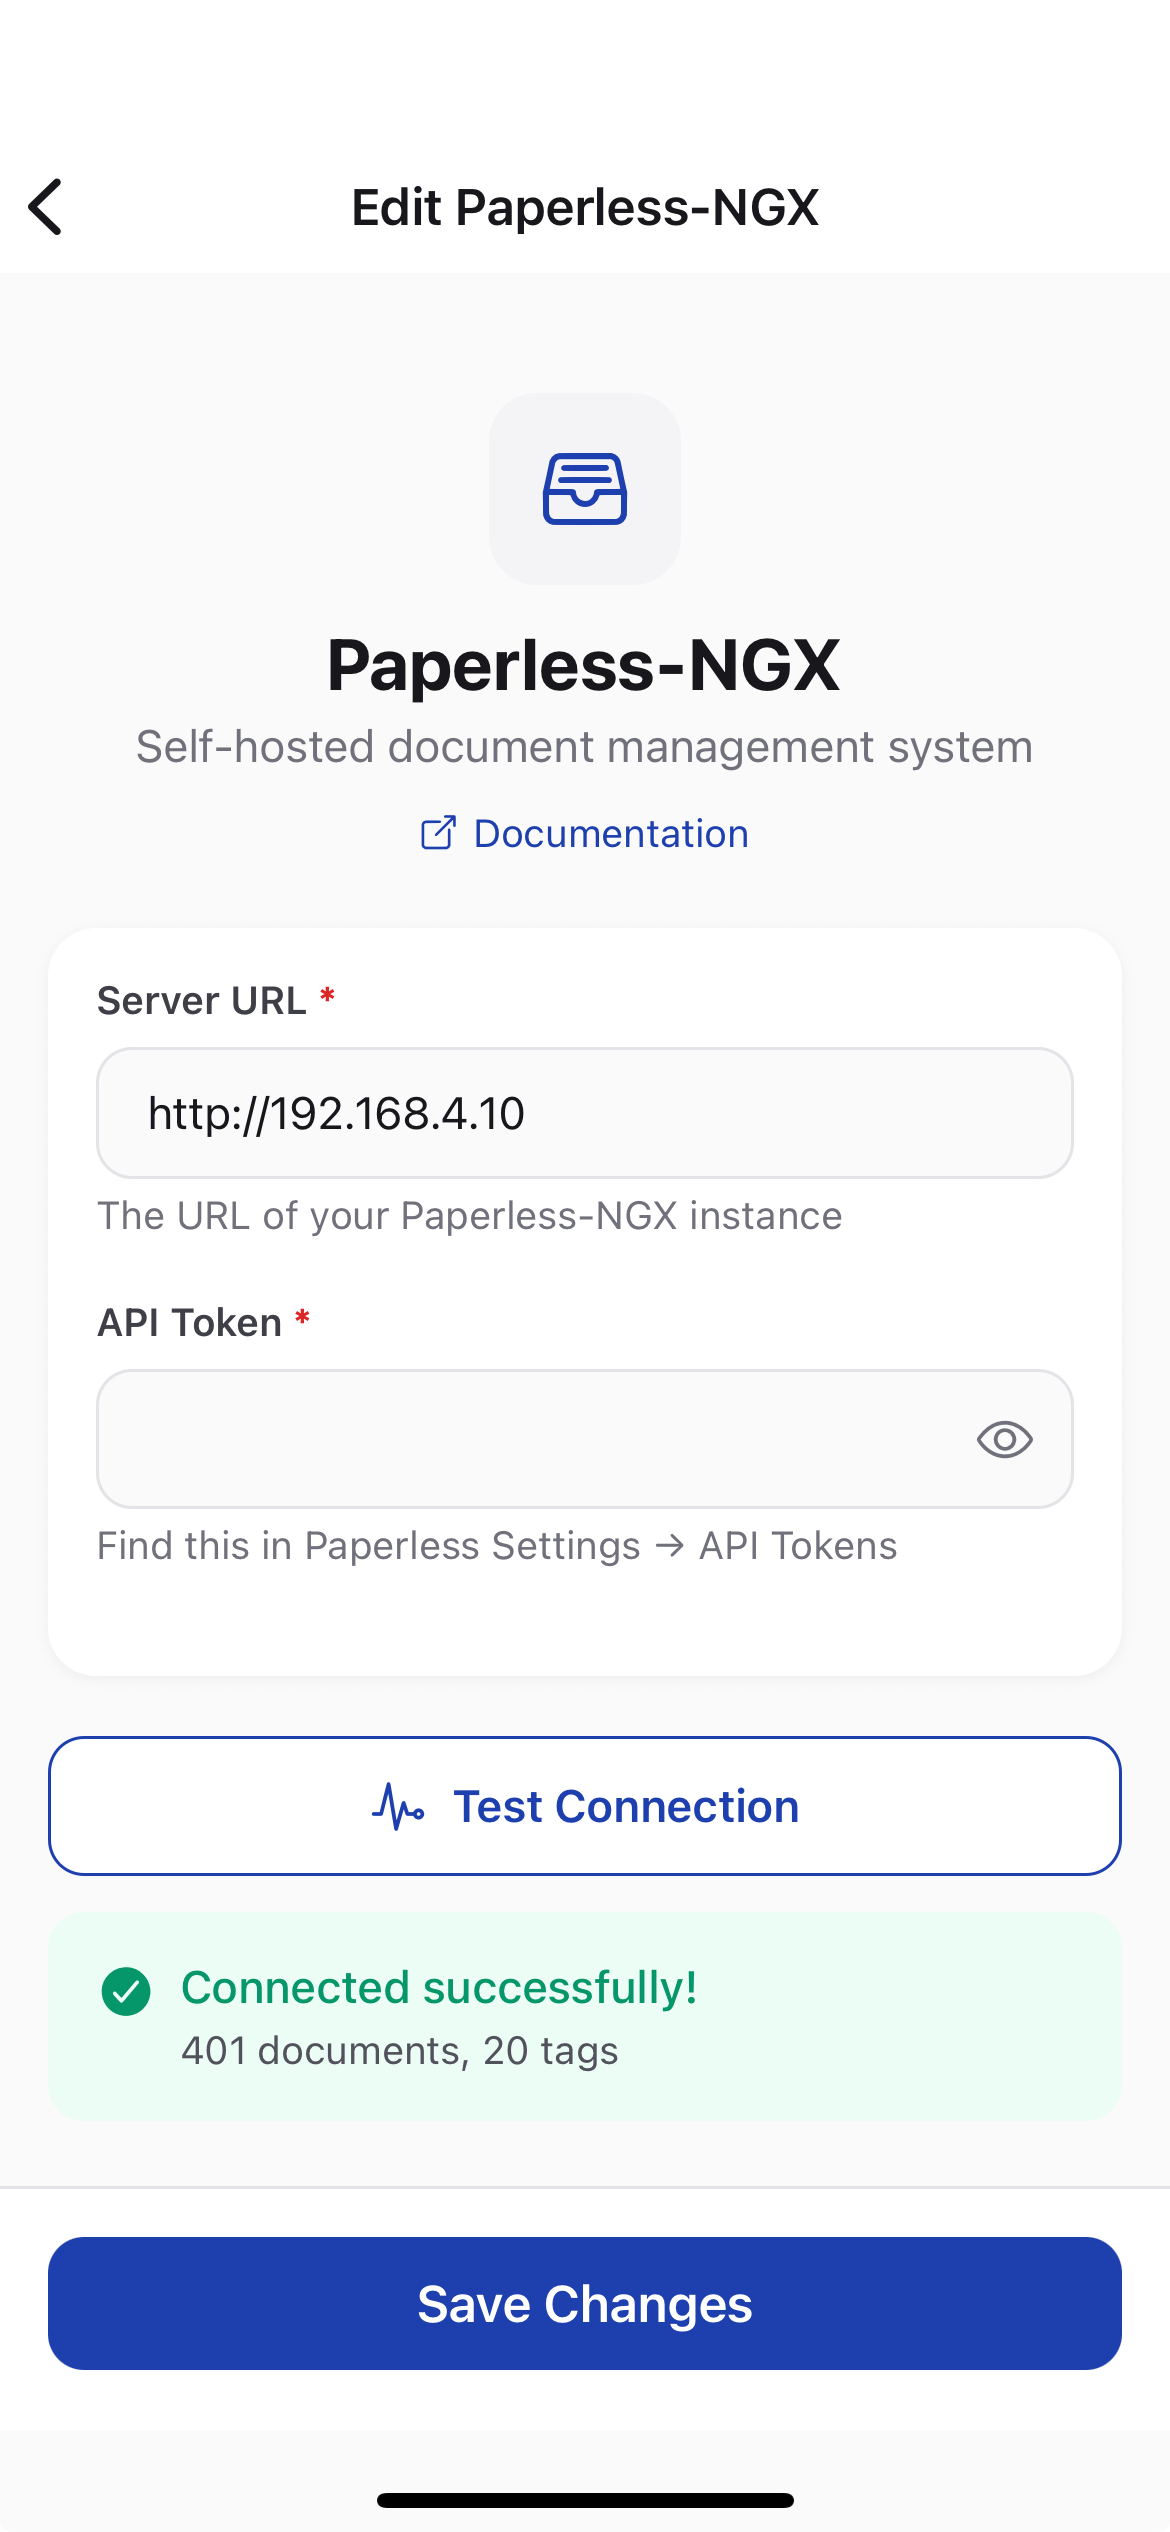
You’ll see the configuration screen:
| Field | What to Enter |
|---|---|
| Server URL | Your Paperless server address (e.g., https://paperless.yourserver.com) |
| API Token | The token you created in Step 1 |
-
Tap Test Connection to verify the setup
-
If successful, tap Connect
Test Connection Results
| Result | What It Means |
|---|---|
| ✅ Connected successfully | Everything is working! You’ll see your document and tag count. |
| ❌ Invalid API token | Double-check your token was copied correctly |
| ❌ Endpoint not found | Verify your server URL is correct |
| ❌ Connection failed | Check your network connection and server status |
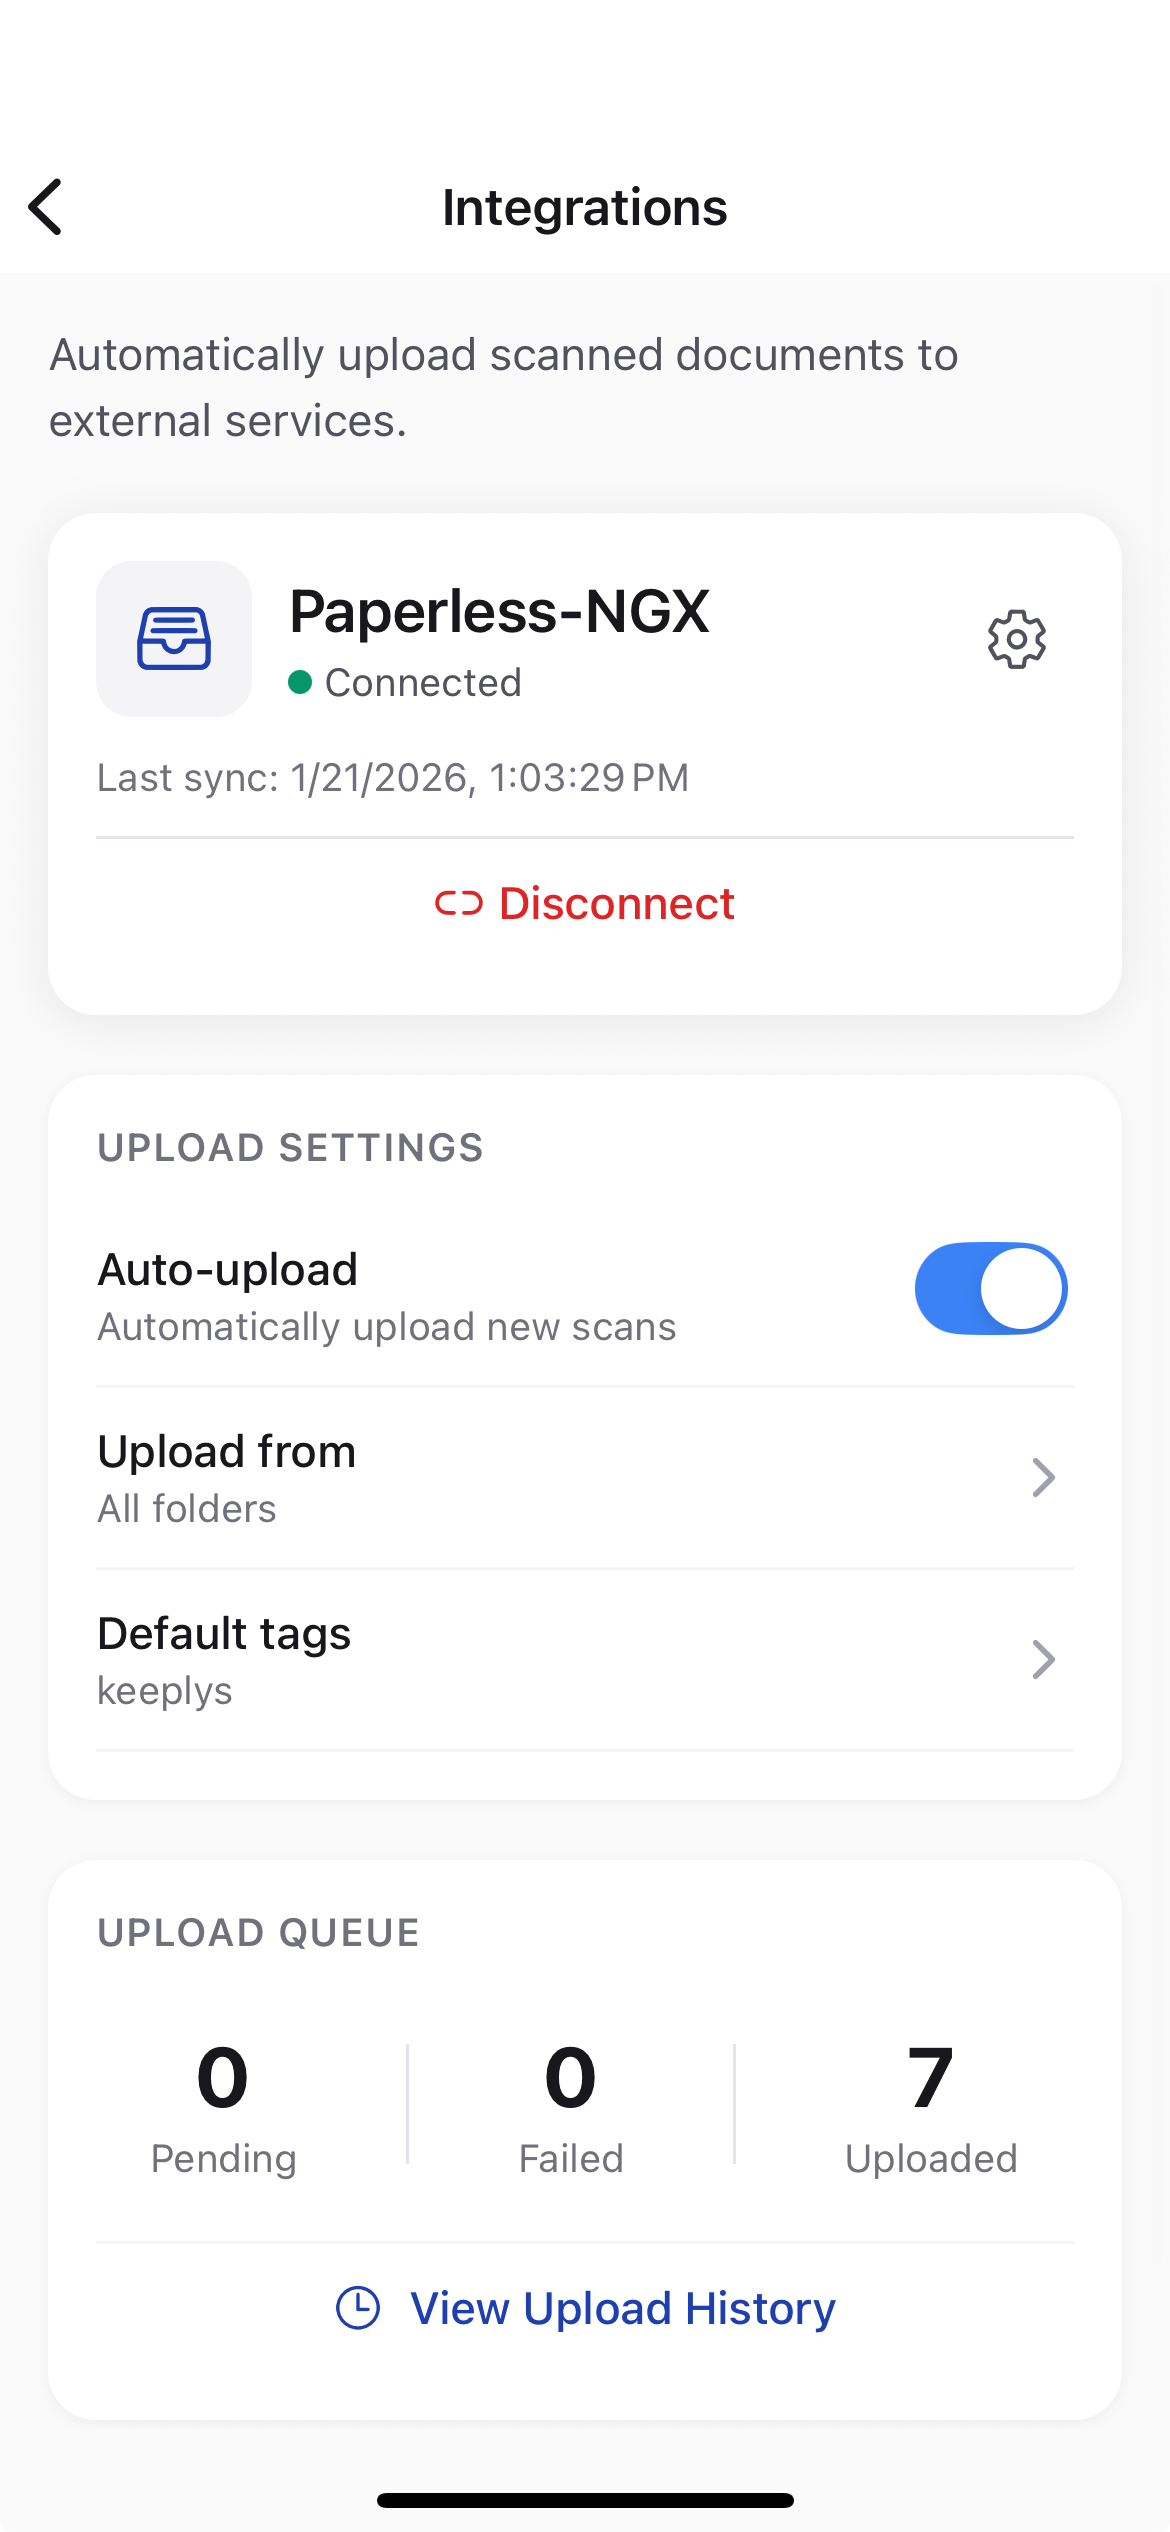
Step 3: Configure Upload Settings
After connecting, you can customize how documents are uploaded:
- From the Integrations screen, tap Upload Settings
Upload Scope
Choose which documents to upload:
| Option | Description |
|---|---|
| All folders | Every document you save will be uploaded |
| Selected folders only | Only documents in specific folders are uploaded |
Example: Select only your “Receipts” and “Tax Documents” folders to upload business-related scans while keeping personal documents local.
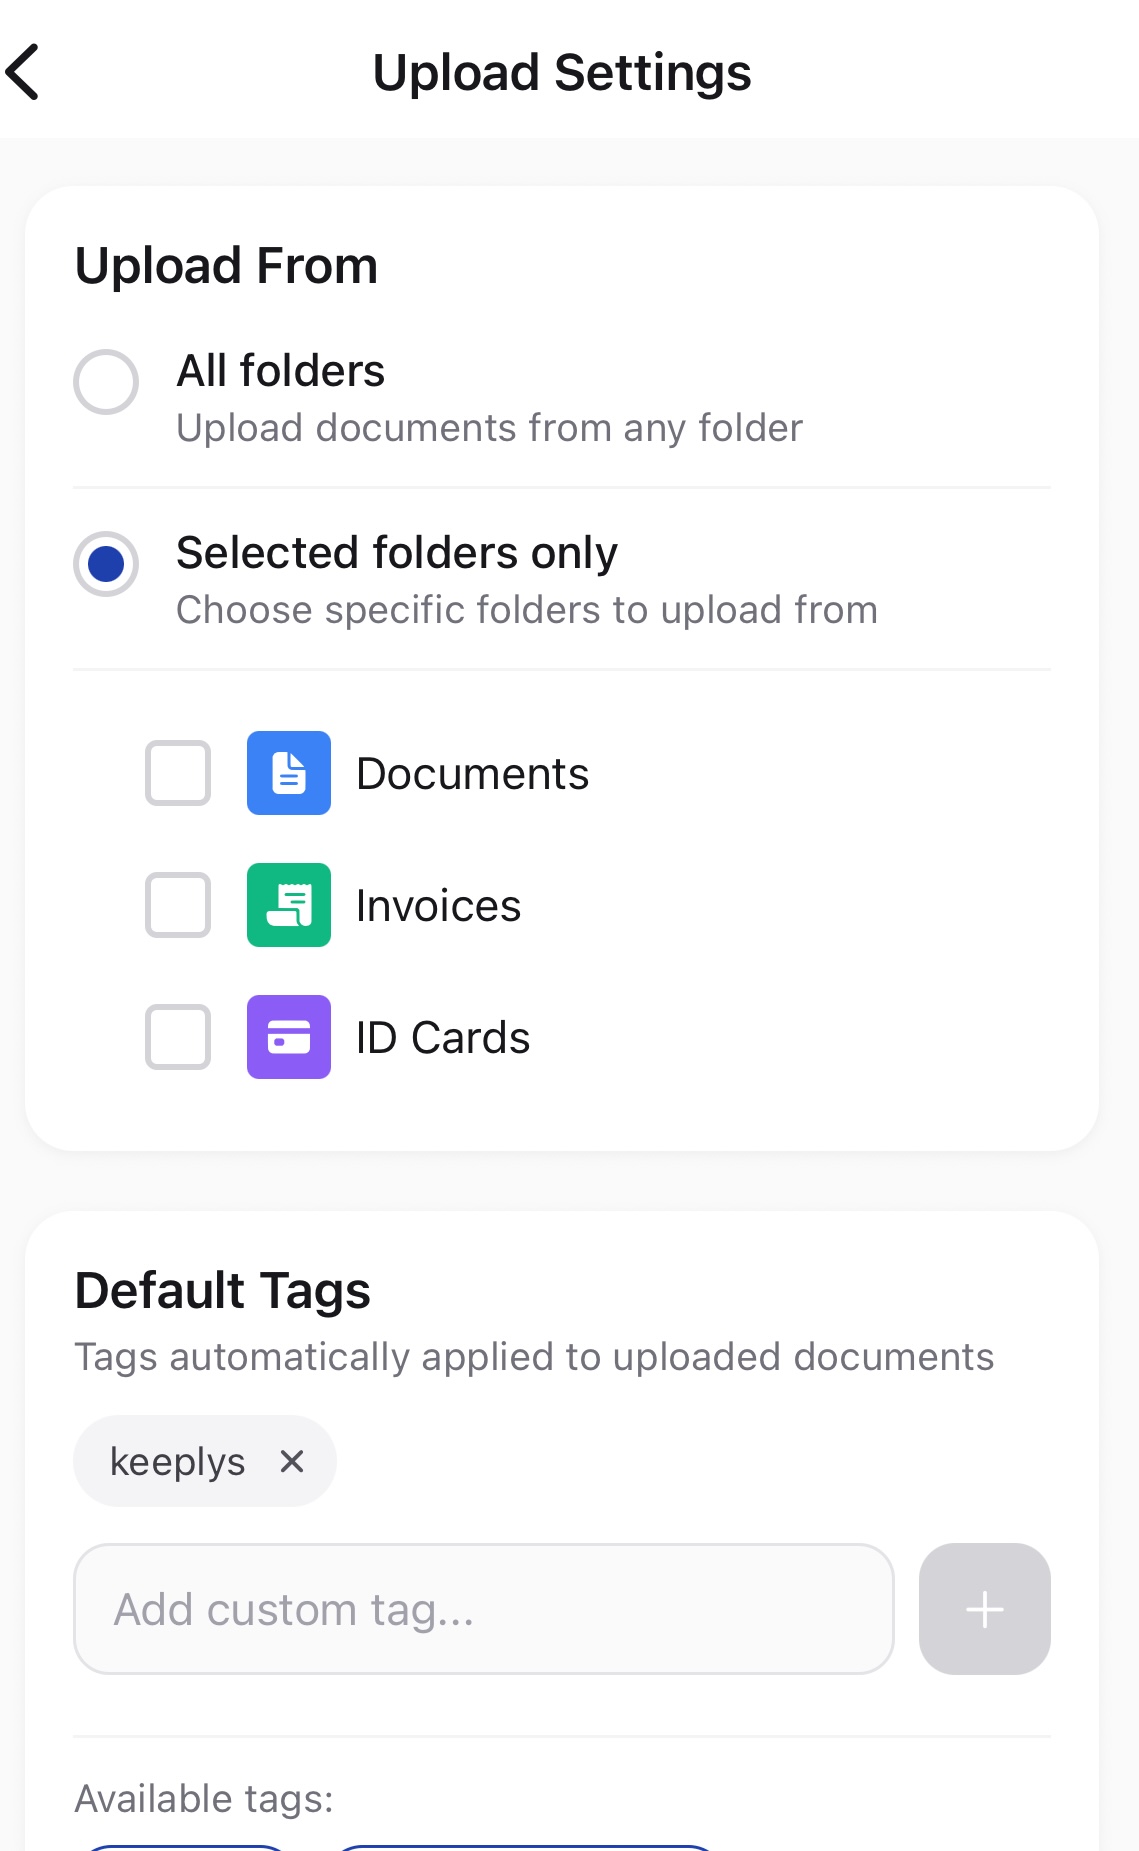
Default Tags
Tags are automatically applied to every uploaded document:
-
Add custom tags: Type a tag name and tap the + button
-
Use existing Paperless tags: Select from tags already in your Paperless instance
Pro Tip: Add a “keeplys” or “mobile-scan” tag to easily filter documents uploaded from your phone.
Using the Integration
Automatic Uploads
Once configured, uploads happen automatically:
-
Scan or import a document in Keeplys
-
Save the document to a folder
-
The document automatically uploads to Paperless in the background
You’ll see a small sync indicator while the upload is in progress.
What Gets Uploaded
| Included | Not Included |
|---|---|
| Document PDF/image file | Local-only documents (if folder scope is set) |
| Document title | Documents from excluded folders |
| Default tags | — |
Manual Uploads
To manually upload a document:
-
Open the document in Keeplys
-
Tap the share icon (↑)
-
Select Send to Paperless-NGX
Upload History
View the status of all uploads:
-
Go to Settings → Integrations
-
Tap Upload History
| Status | Meaning |
|---|---|
| ✅ Completed | Document successfully uploaded and processed |
| ⏳ Processing | Upload complete, Paperless is processing the document |
| 🔄 Pending | Waiting to upload (may be offline or queued) |
| ❌ Failed | Upload failed — tap to retry or view error |
Configuration Options
Server URL Formats
| Format | Example |
|---|---|
| HTTPS (recommended) | https://paperless.example.com |
| HTTP (local only) | http://192.168.1.100:8000 |
| With path prefix | https://example.com/paperless |
Important: Always use HTTPS for servers accessible over the internet.
Network Requirements
| Scenario | Required Setup |
|---|---|
| Local server | Connect to same WiFi/LAN |
| Remote server | Public URL or VPN access |
| Behind firewall | Port forwarding or reverse proxy |
FAQ
Can I use multiple Paperless servers?
Not currently. Keeplys supports one integration at a time. Disconnect the current server to connect to a different one.
Does it work offline?
Uploads are queued when offline and automatically sent when you reconnect. Documents are always saved locally first.
Are my credentials secure?
Yes. Your API token is stored in your device’s secure storage (Keychain on iOS, Keystore on Android) and is never transmitted except to your Paperless server.
What file formats are uploaded?
Documents are uploaded as PDF files. Multi-page scans are combined into a single PDF.
Can I edit documents after uploading?
Documents uploaded to Paperless are independent copies. Edits in Keeplys won’t sync to Paperless (and vice versa).
How do I disconnect the integration?
-
Go to Settings → Integrations
-
Tap your connected Paperless instance
-
Tap Disconnect
-
Confirm the disconnection
Your local documents are not affected.
What happens to queued uploads if I disconnect?
Pending uploads are cancelled when you disconnect. Completed uploads remain in Paperless.
Getting Help
-
Paperless-NGX Docs: docs.paperless-ngx.com
-
Paperless Community: GitHub Discussions
-
Keeplys Support: Contact us through the app’s Settings → Help & Support
Last updated: January 2026